
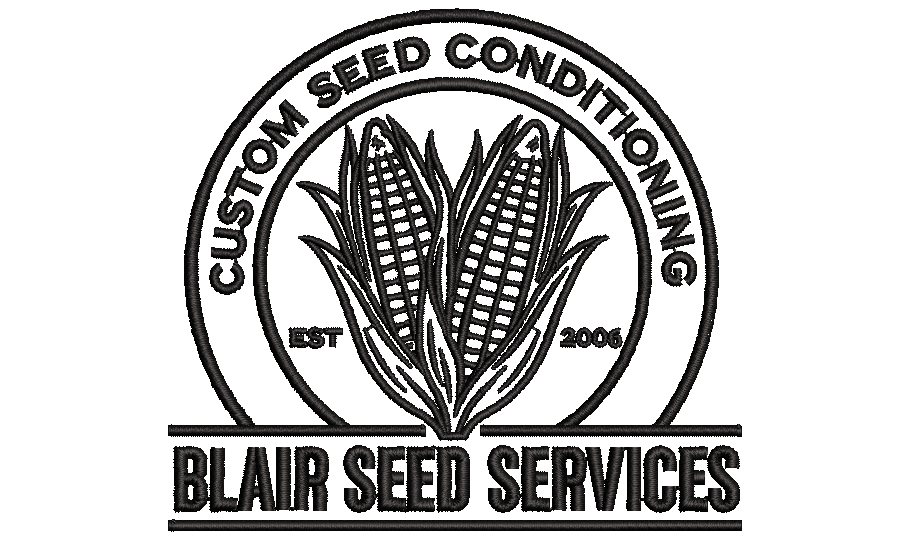
If you’ve ever tried to stitch out a company logo on a hat, polo shirt, or jacket, you already know it’s not as simple as hitting “print.” Embroidery machines don’t understand image files – they need a special stitch file that tells the needle exactly where to go, what direction to sew, and which thread color to use at every point. That process is called embroidery digitizing, and learning how to digitize a logo for embroidery is one of the most valuable skills for anyone running a custom apparel, promotional products, or monogramming business.
In this guide, we’ll walk through what logo digitizing actually means, the best digitizing software for embroidery, and a step-by-step process to convert a logo into embroidery file format – even if you’ve never digitized a design before.
What Does “Digitizing a Logo for Embroidery” Mean?
Digitizing is the process of converting a flat image – like a PNG, JPG, or vector logo – into a machine-readable embroidery file. This file contains stitch-by-stitch instructions: stitch type, direction, density, and color changes. Unlike a printed image, embroidery is built from individual stitches, so digitizing a logo means “redrawing” it using thread paths rather than pixels.
A poorly digitized logo can pucker, show gaps, or lose fine details. Professional embroidery digitizing services exist precisely because well-digitized designs look crisp, lie flat on fabric, and hold up to washing – which is why many small business owners choose to buy pre-digitized, ready-to-stitch files instead of learning to digitize a logo from scratch.
What You’ll Need Before You Start Digitizing
- A clear source image of the logo – vector files (AI, EPS, SVG) work best for accurate embroidery digitizing because they scale without losing quality
- Digitizing software for embroidery, such as Hatch, Wilcom, Embrilliance, or Ink/Stitch (a free, open-source option built on Inkscape)
- A basic understanding of fabric type and garment placement, since stitch density and underlay change depending on whether you’re stitching on a t-shirt, cap, or terry towel
- A list of embroidery machine file formats for your specific machine (Brother, Janome, Singer, and commercial machines each read different embroidery file types)
Step 1: Clean Up and Simplify the Artwork
Before you digitize a logo for embroidery, simplify the artwork. Fine gradients, thin outlined text, and overly detailed shading don’t translate well to thread. Reduce the design to solid color blocks and clean lines wherever possible – this keeps the stitch count manageable and the final embroidered logo readable, especially at smaller sizes like on a cap or shirt pocket.
Step 2: Choose the Right Stitch Types
Most embroidery digitizing software offers three core stitch types:
- Satin stitches – ideal for text, borders, and narrow shapes; they give a smooth, glossy finish
- Fill stitches (tatami) – used for larger solid areas, like the background of a logo
- Running stitches – thin, single-line stitches often used for fine detail or underlay
Choosing the right stitch type for each part of the logo is what separates professional-quality custom embroidery digitizing from an amateur result.
Step 3: Set Stitch Density and Underlay
Density controls how tightly packed the stitches are – too dense and the fabric puckers or the thread breaks; too loose and the design looks thin or lets fabric show through. Underlay stitches are a foundation layer sewn before the main design, stabilizing the fabric so the top stitches sit evenly. This step is where a lot of digitizing quality – and the difference between DIY and professional logo digitizing services – is won or lost.
Step 4: Set the Stitch Sequence and Color Changes
Digitizing software lets you assign an order to each element of the design and set where the machine should stop for a thread color change. A logical stitch order (usually background fills first, then outlines and text last) reduces jump stitches and trims, saving time and thread when converting a logo to an embroidery file.
Step 5: Test Stitch Before Finalizing
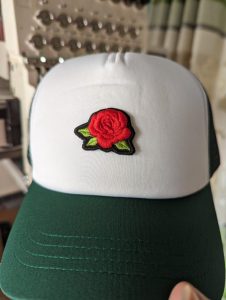
Always run a test stitch-out on a scrap of the actual fabric you’ll be using. This reveals real-world issues – thread breaks, misalignment, puckering – that are invisible on a screen. Adjust density, underlay, or pull compensation as needed, then re-test until the digitized logo looks right.
Step 6: Export in the Correct Embroidery File Format
Once you’re happy with the test stitch, export the file in the embroidery file format your machine reads (commonly .DST for commercial machines, .PES for Brother home machines, .JEF for Janome, or .EXP for Melco/Bernina). Always double-check the format before sending your digitized design to production or a customer.
Digitizing From Scratch vs. Buying Ready-Made Digitized Designs
Digitizing a logo well takes practice – most professional digitizers spend years refining their eye for stitch direction and density. If you need a logo digitized quickly, or you’d rather focus on production than on learning digitizing software, buying a professionally digitized, ready-to-stitch embroidery design is often the faster and more reliable option.
At So Cute Craft Store, you’ll find hundreds of pre-digitized embroidery designs, along with custom logo digitizing services if you have a specific logo you need converted into a machine-ready embroidery file. Browse our embroidery design collection to save time and skip the trial-and-error of learning how to digitize a logo for embroidery from scratch.
Final Thoughts
Learning how to digitize a logo for embroidery – and getting comfortable with digitizing software, stitch types, and embroidery file formats – opens the door to offering custom branding on apparel, bags, and promotional items. Start with simple designs, invest time in test stitching, and don’t be afraid to lean on ready-made digitized files or professional digitizing services while you build your skills.